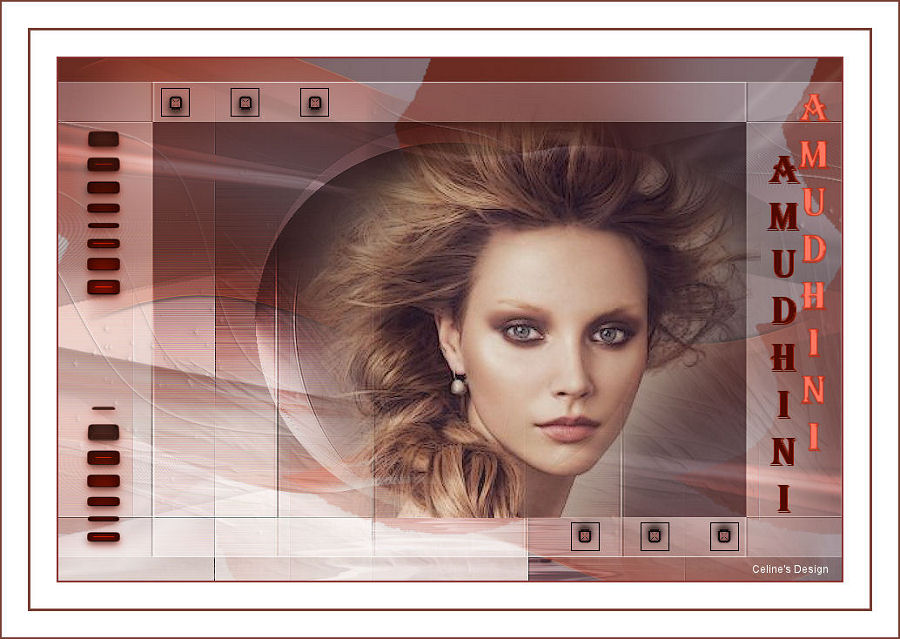
The tutorial:
01
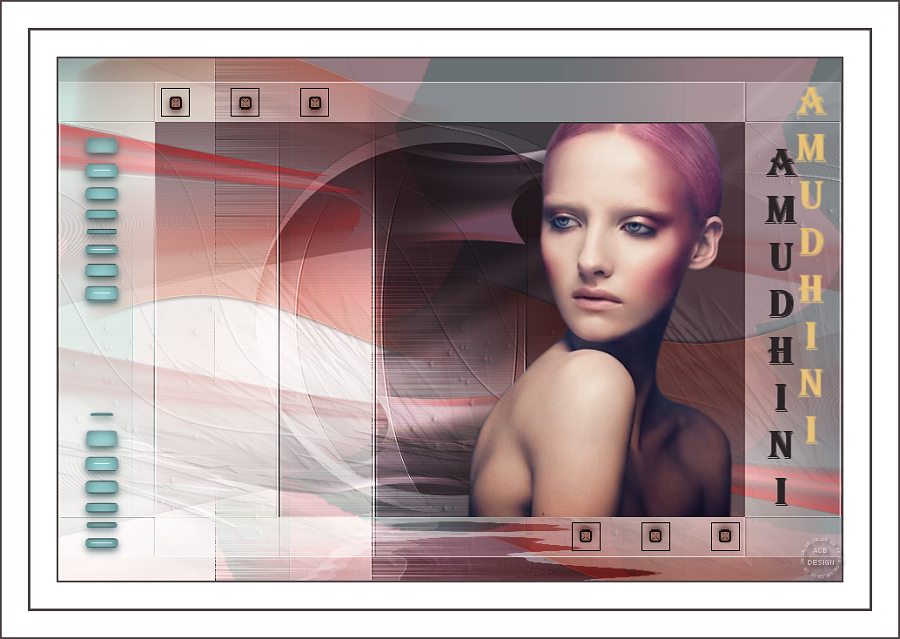
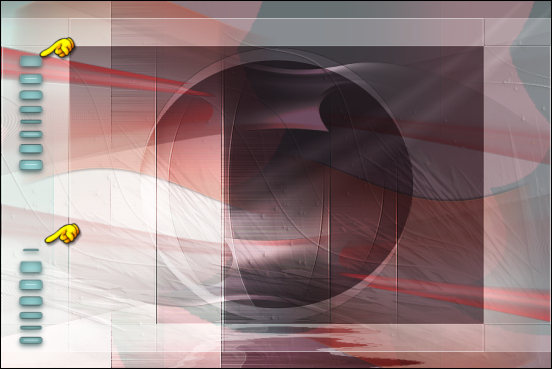
Open a
new transparent image of 900 x 600
px
Fill the
Layer with the
Gradient 
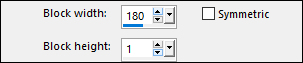
Effects -
Distortion Effects -
Pixelate
Effects - Edge
Effects - Enhance
More
02
Layers -
Duplicate
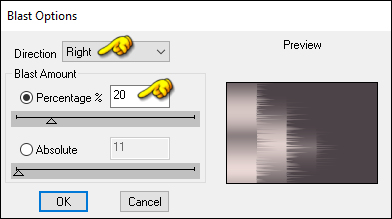
Effects - Plugins
- DSB Flux - Blast
Layer Palette:
Lower the Opacity of
this Layer to 40
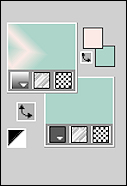
03
Materials
Palette: Change the
Backgroundcolor to
#aed6cb 
You New Palette
looks like this:
Layers - New
Raster Layer
Fill the Layer
with the Gradient 
Image - Mirror -
Mirror Horizontal
Effects -
Distortion Effects -
Pixelate
Effects - Edge
Effects - Enhance
More
04
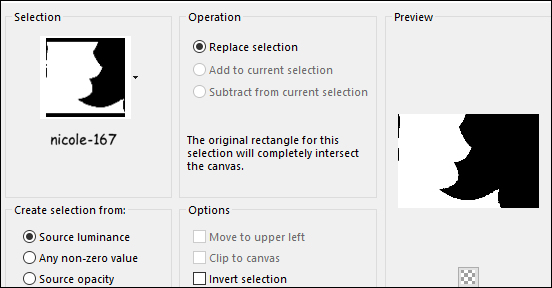
Selection - Load
Selection From Disk
- "nicole-167"
Edit - Cut
(or hit the Delete
key on your
keyboard)
Fill the
Selection with the
Foregroundcolor -
#fceae6 
Selections -
Select None
05
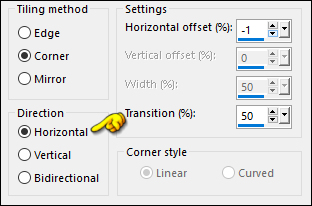
Effects - Image
Effects - Seamless
Tiling
Layer Palette:
Change the Blend
Mode of this Layer
to Overlay
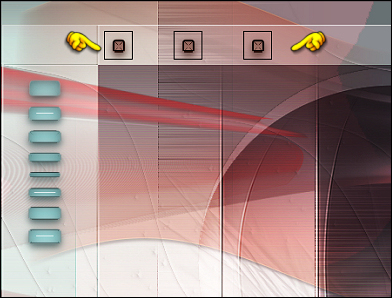
06
Maximize
"nicole-decoamudhini"
from tray
Edit - Copy
On your work
image: Edit -
Paste - Paste As New
Layer
No need to move
07
Maximize
"nicole-deco"
from tray
Edit - Copy
On your work
image: Edit -
Paste - Paste As New
Layer
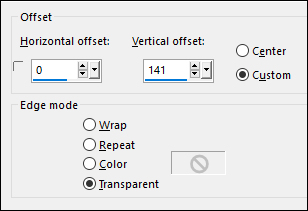
Effects - Image
Effects - Offset
Layers -
Duplicate
Image - Mirror -
Mirror Horizontal
Image - Mirror -
Mirror Vertical
08
Maximize
"nicole-deco1"
from tray
Edit - Copy
On your work
image: Edit -
Paste - Paste As New
Layer
No need to move
Layer Palette:
Lower the Opacity of
this Layer to 40
09
Layers - New
Raster Layer
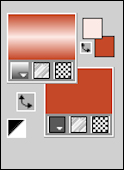
Materials
Palette: Change the
Backgroundcolor to
#c54626 
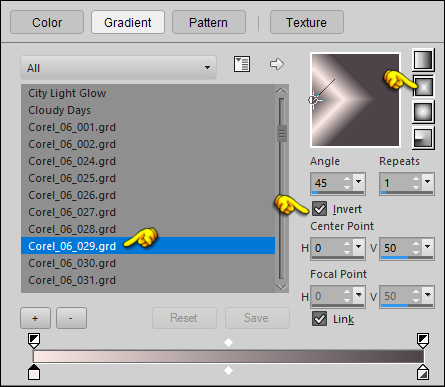
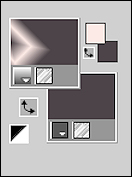
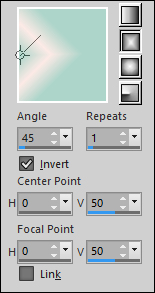
Set the
Foreground to
Gradient with these
settings:

10
Selection -
Load/Save - Load
Selection From Disk
-"nicole-169"
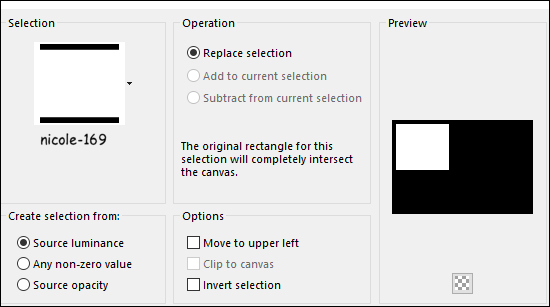
Fill the
Selection with
the Gradient 
Selections -
Select None
11
Effects - Edge
Effects -
Enhance
Layer Palette:
Lower the
Opacity of this
Layer to 40
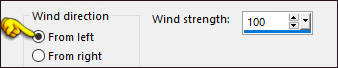
Effects -
Distortion
Effects - Wind -
From Left
Effects -
Distortion
Effects - Wave

12
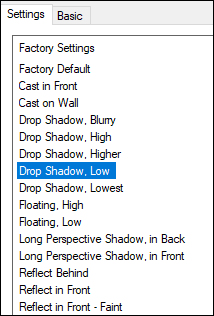
Effects -
Plugins - Alien
Skin Eye Candy 5
- Impact -
Perspective
Shadow - Preset
- Drop Shadow
Low
Layers -
Duplicate
Image - Mirror -
Mirror
Horizontal
Image - Mirror -
Mirror Vertical
13
Layer Palette:
Click on the
Bottom Layer
Selection -
Load/Save - Load
Selection From
Disk
-"nicole-168"
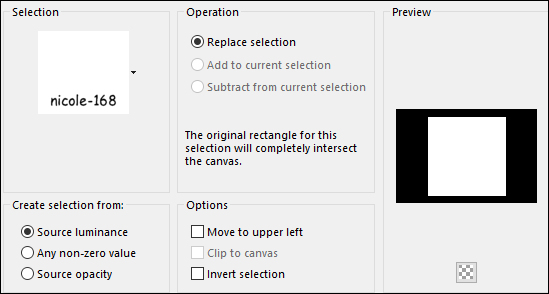
Selections -
Promote
Selection to
Layer
Layers - Arrange
- Bring to Top
Selections -
Select None
14
Materials
Palette:
Change the
Backgroundcolor
to #ffffff 
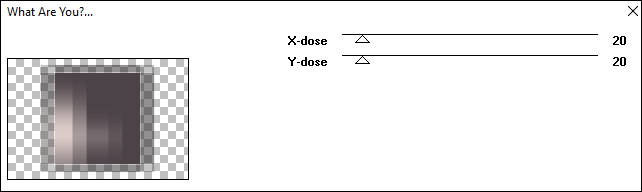
Effects -
Plugins -
Toadies - What
Are You?
Effects - Edge
Effects -
Enhance
Layer Palette:
Change the Blend
Mode of this
Layer to Soft
Light
15
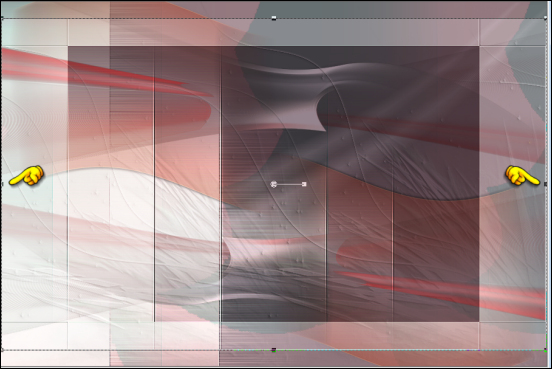
Pick Tool (K)
Drag the Left
and Right Nodes
to the edges
like this:
16
Selection -
Load/Save - Load
Selection From
Disk
-"nicole-168"
Effects -
Geomtric Effects
- Circle -
Transparent
checked
Selections -
Promote
Selection to
Layer
Selections -
Select None
Layer Palette:
Change the Blend
Mode of this
Layer to Overlay
17
Image - Resize -
90% - Resize All
Layers - not
checked
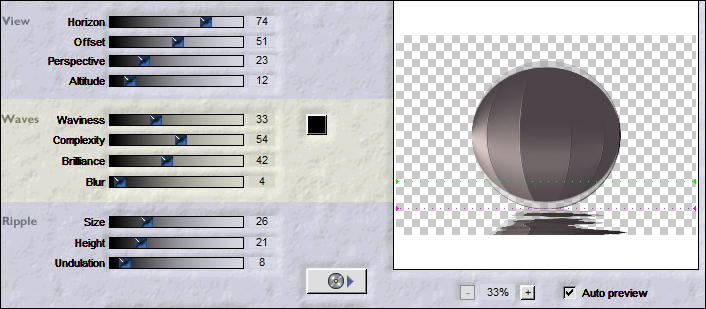
Effects -
Plugins -
Flaming Pear -
Flood
18
Maximize
"nicole-decoamudhini1"
from tray
Edit - Copy
On your work
image:
Edit - Paste -
Paste As New
Layer
Move the tube to
the Left side
edge like this:
19
Maximize
"nicole-decoamudhini2"
from tray
Edit - Copy
On your work
image:
Edit - Paste -
Paste As New
Layer
Move to the Top
Left like this:
Layers -
Duplicate
Image - Mirror -
Mirror
Horizontal
Image - Mirror -
Mirror Vertical
20
Maximize "femme
1173 from tray
Click on the
Middle Layer
Edit - Copy
On your work
image:
Edit - Paste -
Paste As New
Layer
Image - Resize
113% - Resize
All Layers - not
checked
Move into the
frame like this:
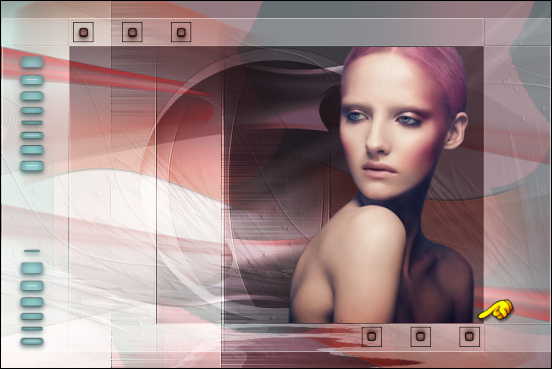
Add a Drop
Shadow of your
choice
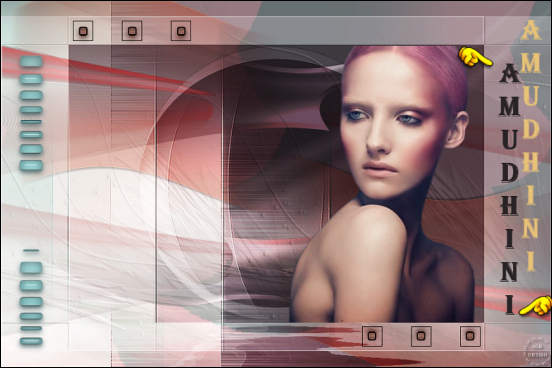
21
Maximize "texte"
from tray
Edit - Copy
On your work
image:
Edit - Paste -
Paste As New
Layer
Move the text to
the Right side
edge like this:
22
Image - Add
Borders -
Symmetric
checked - 2px -
#4c4348 
Image - Add
Borders -
Symmetric
checked - 30px -
#ffffff
Image - Add
Borders -
Symmetric
checked - 3px -
#4c4348
Image - Add
Borders -
Symmetric
checked - 30px -
#ffffff
Image - Add
Borders -
Symmetric
checked - 2px -
#4c4348
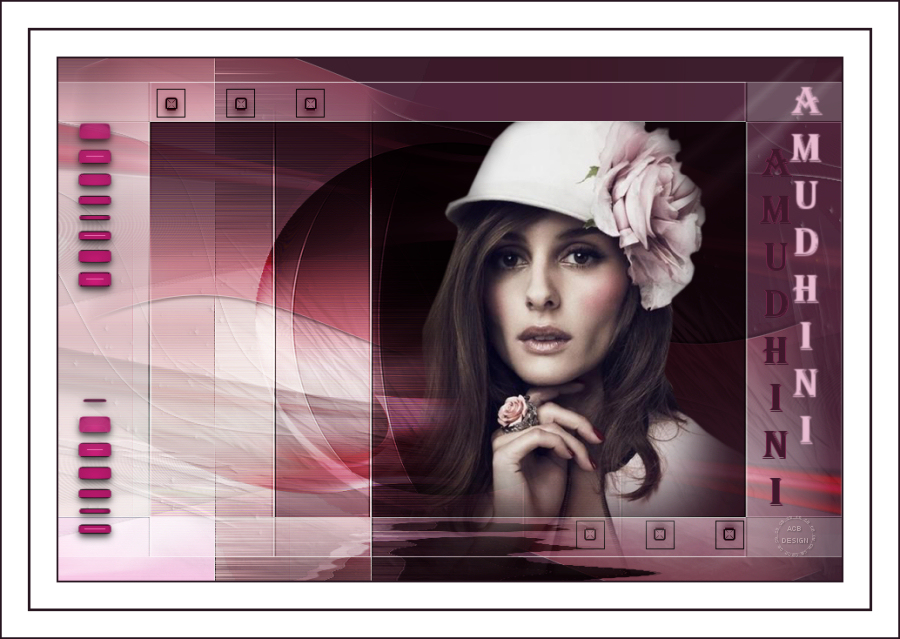
23
Optional:
Image - Resize - Width 900 Pixels - Resize all Layers checked
Add your name or watermark, save as JPG
file and you're done!
If you wish you can post your result on my Face book Page